To contact us Click
HERE
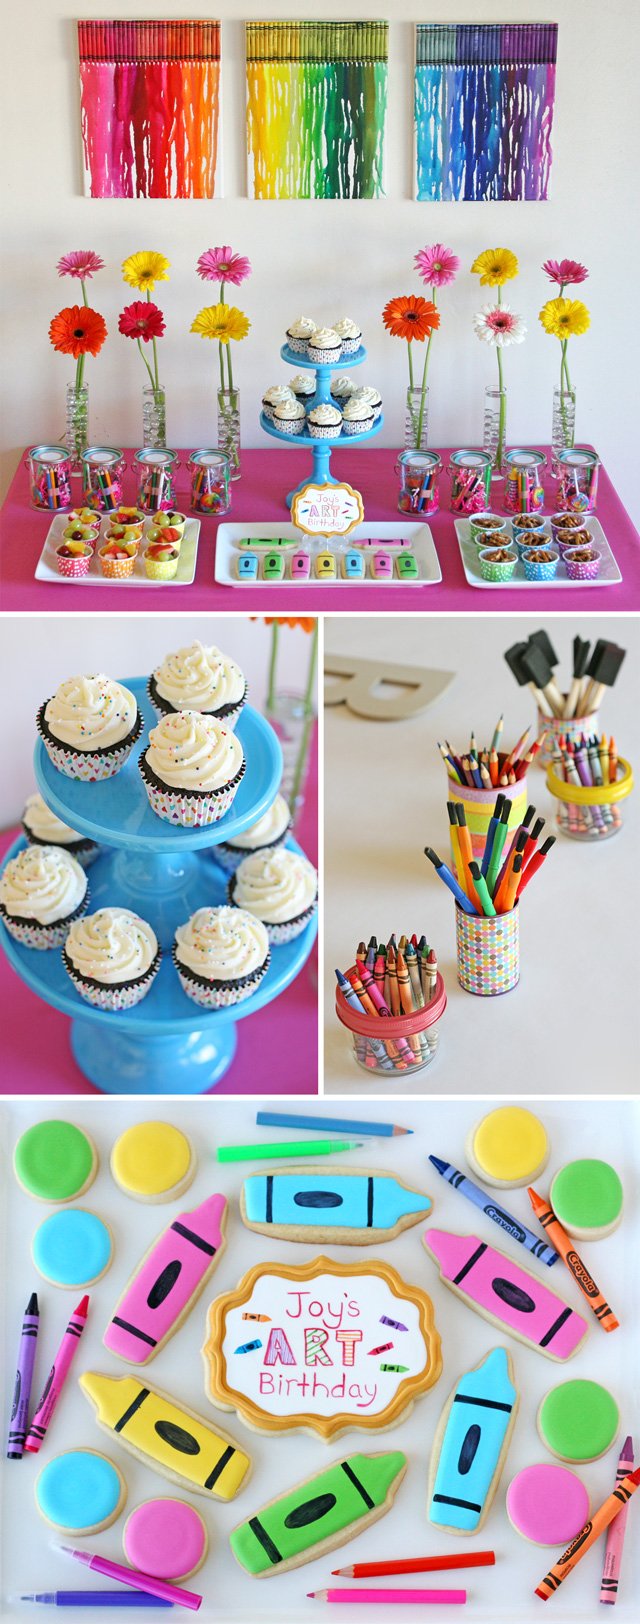
Last month we celebrated my “baby” Joy’s 6th birthday. How does this happen… the little (well, if 9 lbs is little) baby we brought home from the hospital not too long ago is now 6! Joy has always been the perfect name for this fun, rambunctious, confident little girl. She dives into life head first…and has a few stitches to prove it!
We celebrated Joy’s birthday with a colorful Arts & Crafts Birthday Party. I chose this theme partly because I knew we’d be inviting both boys and girls, and wanted something fun and interactive that everyone would enjoy.
It was a beautiful sunny day, and everyone seemed to have a really great time!
Please enjoy Joy’s Art Party…

I designed the party invitations to fit inside a standard watercolor paint set. Since I knew we’d be hand delivering the invitations, it was a special way to give the guests an idea of the fun we’d be having. I bought the watercolor sets (Wal-Mart is the cheapest place I found), then removed the cardboard Crayola label inside and used that as a template for the invitation. I designed the invitation so that I could fold it in half and the image on one side would show through the box (the “You’re invited… ” part), and the other side (which would be inside the paint box) would include the party details. I added some pretty ribbon and a little name tag for each guest.
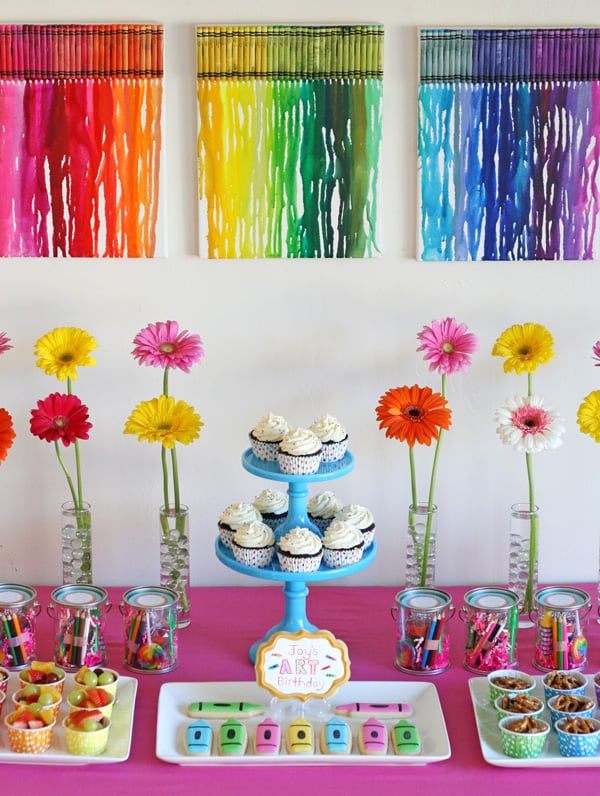
As I was planning the dessert/snack table, I made a set of 3 rainbow crayon art canvases to act as the backdrop, and pull in the whole theme. I love how they turned out, and will share more details on the canvases soon.
Along the back of the table, I lined up a row of bud vases with bright gerbera daisies.
Snacks included…
Chocolate Cupcakes with Vanilla Cream Cheese Frosting, baked in grease-proof polka dot baking cups (called ”Color Cups” from Wilton).
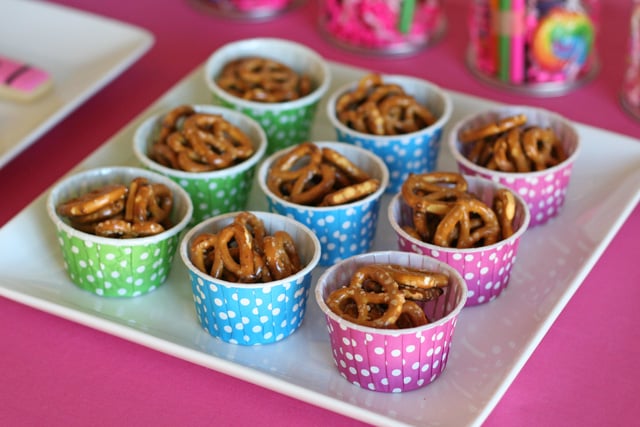
Fresh Fruit & Pretzels (in polka dot baking/snack cups)
Decorated Sugar Cookies (here’s my Sugar Cookie Recipe)

I had fun making simple, yet colorful crayon shaped cookies, and added a special personalized cookie to the tray as well. The personalized cookie was hand-painted, in the same way I recently made some hand-painted Valentine’s cookies.
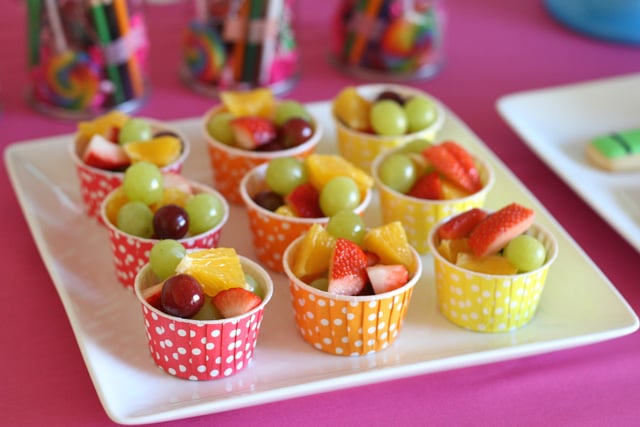
Simple snacks of fresh fruit (above) and pretzels (below) were served in colorful polka dot baking/treat cups (available from TomKat Studio, Shop Sweet Lulu, and Sweet Estelle’s Baking Supply)
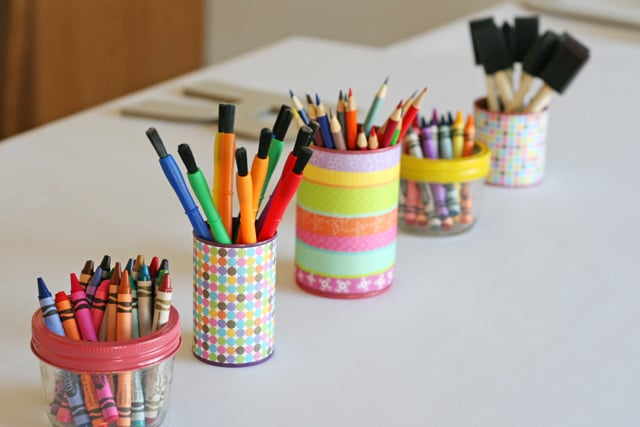
I planned two main crafts for the kids to complete during the party. In addition, I covered the entire party table with white paper (from the teacher supply store) and allowed the kids to draw all over the table. The kids were able to color on the table while we waited for all the guests to arrive. I had jars of crayons and colored pencils (as well as paintbrushes for our other craft) all along the table.
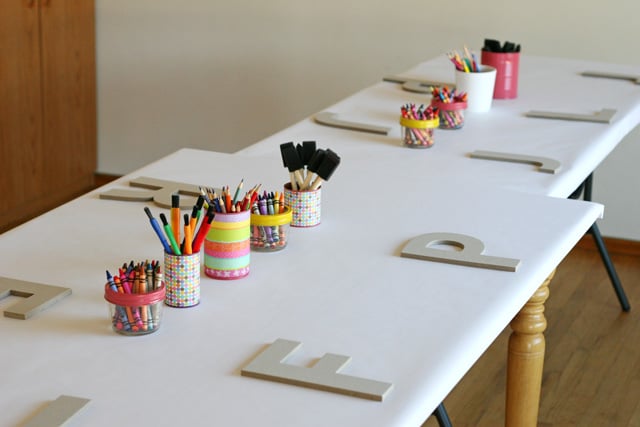
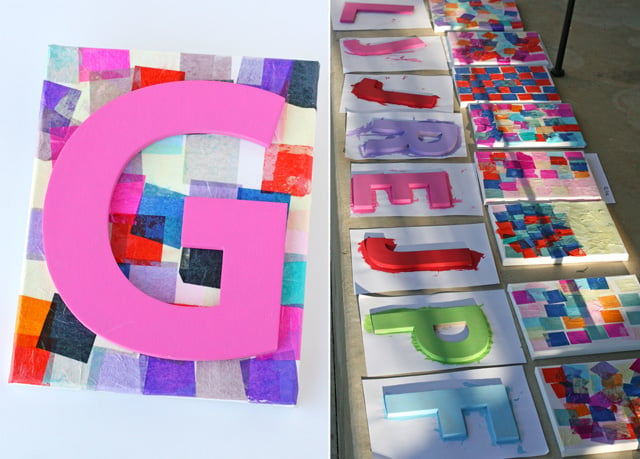
The first craft was a personalized mosaic canvas, which included the initial of each child’s name. Each guest chose the color they’d like to paint the letter, and got to work…

The final craft included the painted initial, on top a mosaic covered canvas. I’ll share all the details for this fun project in the next few days.
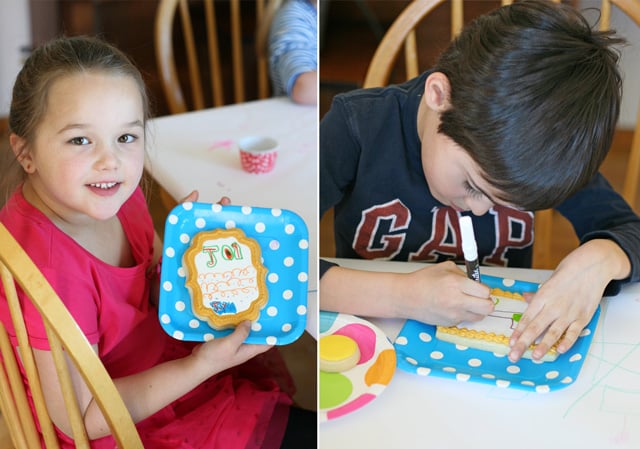
The second party project was for each guest to color their own “cookie canvas” (inspired by The Decorated Cookie). I baked and iced (with royal icing) large cookies in a couple different shapes. I prepared the cookies (and added the frame) just as I did for the Valentine’s cookies I posted HERE. Be sure to allow at least one full day (or more) for the icing to dry before the kids are going to color them. I provided the guests with food color markers, and they had fun being creative!

Certainly, the crafts the children created during the party would have been adequate favors, but before I had even settled on the party crafts I had already prepared these cute favor pails…
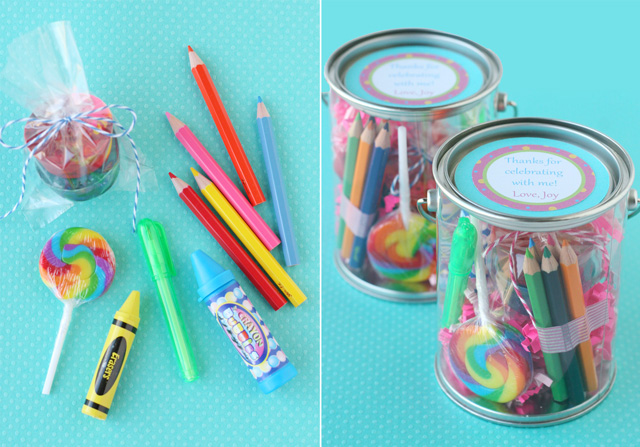
Small paint can pails (available from Oriental Tradding Company, or Michael’s) were filled with mini colored pencils, bubbles in a crayon shaped container, an erasser, a rainbow lollipop (from Party City), and multi color crayon “pods” I made from broken, melted crayons.

Joy’s birthday was a fun and creative day, and we really enjoyed sharing it with friends!
All photos, food, and styling by me/Joy’s mommy/Glorious Treats.


 The straw flags/tags could be used as just that, straw flags...
 ...or as a shirt tag exclaiming "kiss me"...
 ...or as a little banner hung next to the leprechaun's treats left in the kiddo's shoes. Can't wait to stuff their shoes with fun green treats (ideas-- mike & ikes, sprite, limeade drink, green spearmint gum, green canister of pringles...etc. you get the jist of it).

 This was a quick shamrock banner made by those sparkly foam cut outs that can be found at any craft store. I got mine at Michaels 50% off and three packages cost me all of $3. Love deals like that!

 As I was hanging banners and taking pictures, this little fella snuggled in on the couch to watch me. Too bad his name isn't "Lucky", that would be so fitting for this post. Thus, his name is "Gus" and we love him whether he's an Irish dog or not.


 Pictures above courteous of Jillian at Catch My Party.
 The above picture is obviously from me-- not so professional looking, but we're ready to celebrate our No.1 daddy on this special day!

 The kiddos got to take home some baggage with their very own personalized luggage tags.
  In their baggage party favors we included, a fun scratch off coloring page, airplane kits, bubbles, pixie sticks, candy airplane, in-flight snacks (popcorn), star suckers, and blow-outs.
 The decor was minimal due to the fact we hosted the party after church on Sunday.
 All party printables were created by me and can be purchased at Embellish's Etsy shop.

 The lollipop suckers were custom made by Gary's Tempting Little Bites on Etsy and then I added the cut-out propellers, punched the holes and slipped them onto the sucker sticks.
 Guests drank "Jet Fuel" (water & Capri Suns)...
 ... and ate their in-flight meals. Adults had chicken croissant sandwiches, chips, potato salad, and fruit. Kids ate PB & J, chips, pudding cups, and string cheese. I purchased these fun plastic clam shell boxes from my local grocery store's bakery/deli. The manager only charged me $.05 a piece. STEAL!
 The party was originally going to be outside, but at the last minute we pulled it inside due to the overcast weather. Everyone had fun, nonetheless.


 The birthday boy had a blast throwing his "pairplanes" around our house and I loved watching every minute of him enjoying his time with friends and family.
 This is the best family picture we could muster.
 Fun was had all around and the many planes are still flying all over my house a week later.


